******************************************
2 weeks ago, I had an epiphany as I poured out the remainder of the orange juice from it's carton. I've been wanting an external flash for quite some time already. But the kiamsap in me is holding me back. And I thought, if all I've wanted to do is bounce flash, why not make a bouncer for the built-in?
Model V1.0 was made there and then. I cut the top off, cut out a flap to form the front output, and another one at the side to form the side output, and a flap from the bottom to open and close for bouncing from above. It didn't look nice, but it sure did it's job.
I also experimented with a milk carton (with white insides). Not that good as the output has a yellowish tint to it.
Yesterday, I finished another carton of juice, and saved it to make V2.0. The following is V2.1, a slight improvement done a while upon completion of V2.0. Used V1.0 as additional materials for V2.0. (Transformers style!)
***I've always wanted to make my own scientific report on something, so bear with me on the following format of the procedures***
DIY Built-in / Pop-Up Flash bouncer for DSLR V2.1
Aim:
- To produce a flash bounce for built-in / pop-up flash for digital single-lens reflex (DSLR) cameras.
History:
- It has been a common conception in photography that the built-in/pop-up flash unit is no good. To a certain point that is true but with the correct use of metering, flash compensation and an external accessory the built-in flash unit should be good enough to produce adequately exposed photographs.
- There has been DIY diffusers/ bouncers online, but none are made of this obvious material, and none are really that versatile. I searched and found no guide on making a bouncer/diffuser using a drink carton.
Materials:
- two 1-litre fruit juice carton (or any drink carton with silver-ish lining in the insides)
- cellophane tape
- rubber bands
Apparatus:
- cutting blade (ensure tip is sharp)
- scissors
- ruler
- hole puncher (or just use the scissors to make a hole)
Note 1: The carton used is a cuboid with square cross-section with the dimension of 7.1cm X 7.1cm X 19.5cm (body only, does not include tip part that contains the cap and outlet to pour out the contents).
Note 2: The 6 sides of the carton shall be labeled "front", "back", "left", "right", "top" and "bottom" for the sake of this procedure.
Note 3: This procedure is tailor-made for the Canon EOS 1000D / Rebel XS. Please improvise step 3 for other makes of DSLRs.
Note 4: This procedure has been reverse-engineered as I did not plan to make a guide initially. The photos might contain features not mentioned in the steps before it.
Procedure:
1) Remove the top and bottom sides of the carton. Ensure a clean cut is made so that the appearance is presentable. By now you should be able to momentarily attach the carton to the top of your DSLR and bounce flash from the top. Proceed to step 2 for further fabrication.

2) Cut a hole at the front side measuring 6cm (horizontally) X 7 cm (vertically) about 3cm from the top. Repeat for right side.

3) By now if you attach the carton to the DSLR, you will notice that the bouncer is not secured properly. Few incisions need to be done to ensure a secure installation of the accessory.

First, you need to create allowance for the area around the mode dial. Make the incisions as demonstrated in the photograph. Remove the flap created due to the procedure if desired (recommended).

Then you will need to make allowance for the viewfinder. Again, make incisions as shown and remove flap if desired (recommended).

Now for the right side. Repeat. Flap removal not performed in the photograph.
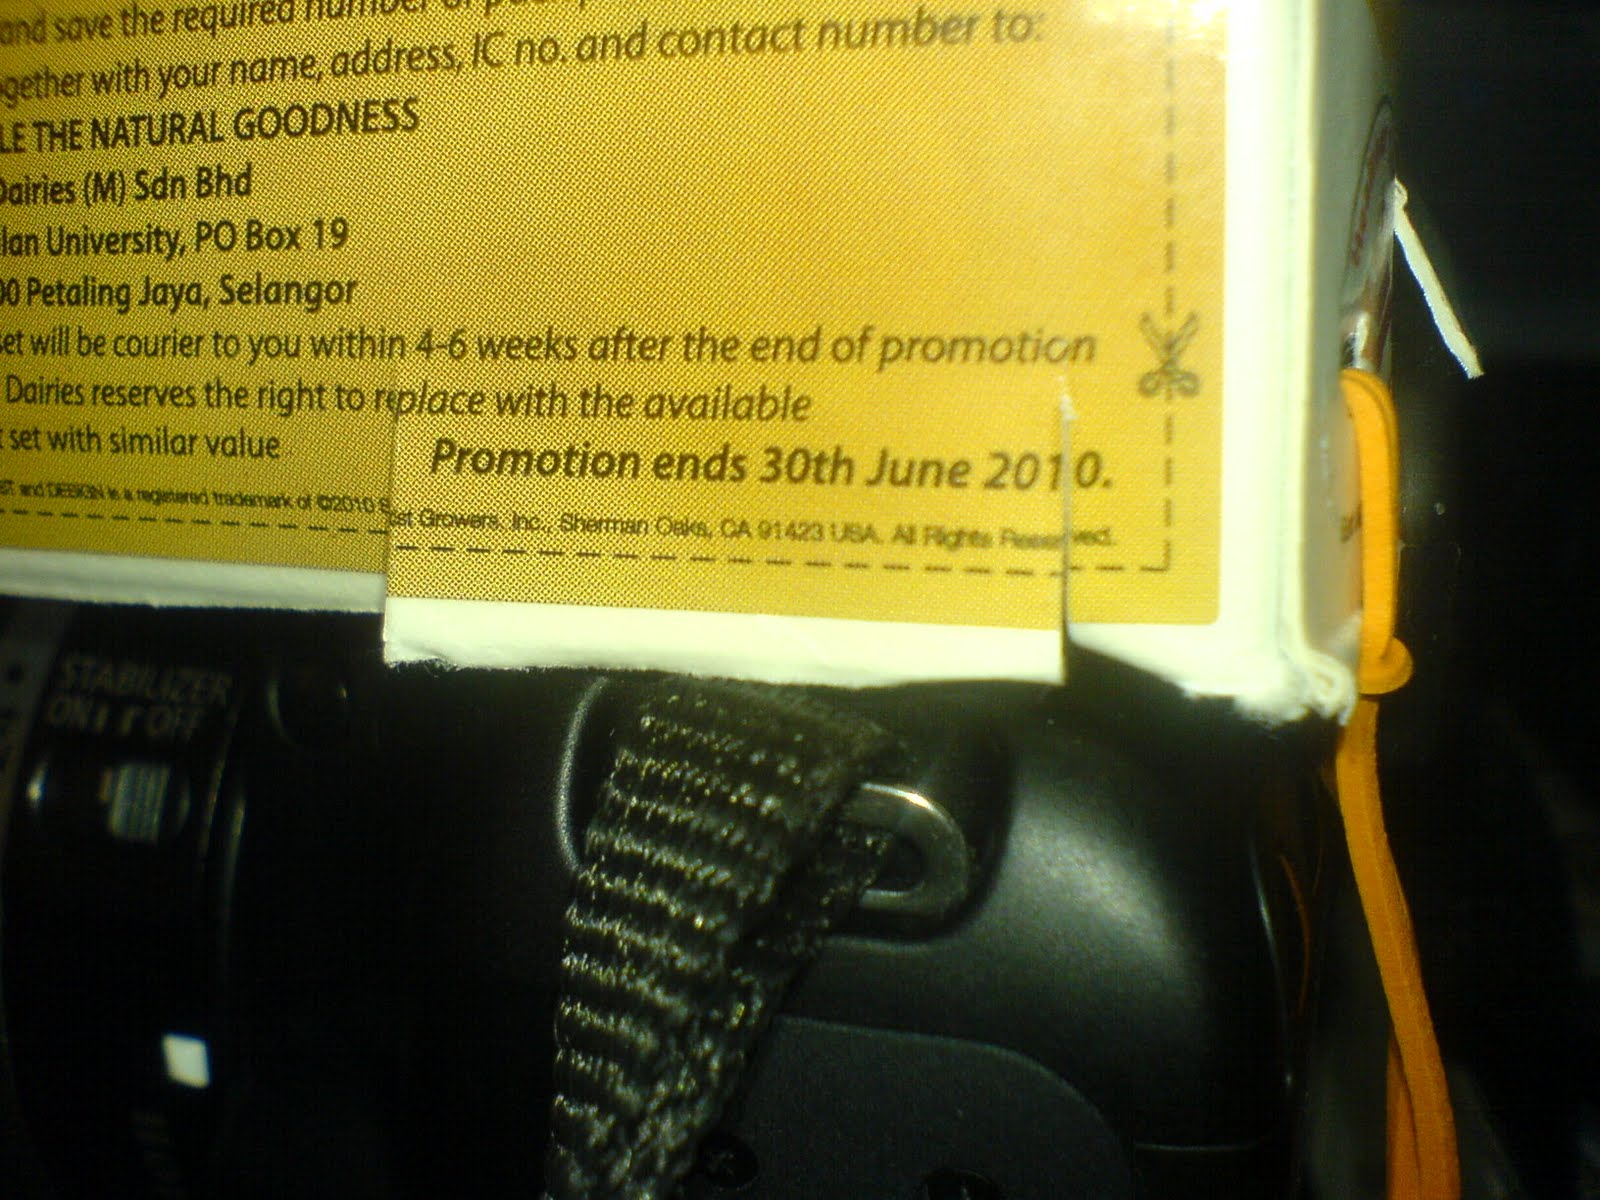
To make allowance for the body portion containing the built-in flash, make an incision exactly 1.5cm to 2cm from the bottom approximately 4cm long. Make incisions as shown to create a flap (flap height about 1cm, flap removal recommended). Carve allowance for lens barrel.

4) Using another carton as material, cut 3 panels measuring 10.1cm X 7 cm. This 10.1cm was calculated to create a 45 degree bouncing angle for the bounce, using Pythagoras theorem.
Cut another smaller panel measuring 5.7cm X 6.5cm ( 5.7cm also to create 45 degree bouncing angle. 4cm is the height of the flash unit measured from the highest point of the camera body without releasing the flash unit. 4 cm is the length from the body of the bouncer to the joint that fits the bounce card. This results in a 5.7cm length for the hypotenuse for this triangle)

5) Here on : trim panels to fit inside of the bouncer. Ensure that the panels don't swing loose, and that some friction exist between the edge of the panels and the body of the bouncer.
Secure the smaller panel (herein referred to as the bounce card) with cellophane tape as shown, to the inside of the front side of the bouncer. The edge of the bounce card should be 1cm away from the edge of the bouncer.

6) Secure one of the remaining panel to the inside of the back of the bouncer as shown. The edge of the panel should be aligned to the edge of the body of the bouncer. This will create surface of 45 degree when flipped to rest against the inside of the front side. The insides of the bouncer should still look uniformly silver-ish at this point.

7) Secure another panel to the inside of the right side. The edge of the panel should be aligned to the edge of the body of the bouncer.
This will create both a wall at the right side and a 45 degree surface to bounce light to the right side. Please note that the silver-ish side should be facing OUTSIDE after this step as shown in the photograph.

8) Secure the last remaining panel to the outside of the front side, aligning the edge of the panel to the edge of the bouncer. Excess cellophane take should be used to securely affix this panel to the bouncer as shown. The silver-ish side should face inside the bouncer. This will form a wall on the front side of the bouncer.

The outside of the front side of the bouncer should look like the following photograph. Use a cellophane tape (or in this case, a sticker found on the body of the carton itself :-P) to loosely secure the other end of the front panel to the body.

8) Attach the bouncer to the DSLR. Find a spot to punch a hole to secure rubber bands to. The rubber bands will loop underneath the DSLR and around the lens.

**** End of fabrication****
Review:
The front should look like this , with the front panel opened and resting against the top (don't mind the gap, I corrected for this in the procedure).

The right side:

This is the same configuration with the front panel opened.

Overall appearance (artsy ones should be able to decorate the bouncer a bit. I couldn't be bothered to)


Installation:
The bounce card should be made to rest in the joint created between the top of the DSLR body and the flash unit itself (the use of the middle finger for this procedure is highly recommended)

Results:
The following is a series of photographs showing the different effects achieved by the different configurations of the bouncer.
All photographs have the setting f/5.6, 1/60, ISO800, 55mm, flash compensation +1, except the control. Used the kit lens to stick to the 'beginner' style of things. None have been altered digitally except for converting to JPG for the purpose of uploading to this blog. The distance of between the lens mounted on the camera and the object is approximately 44cm. The ceiling is approximately 3m from the tip of the bouncer.
Camera upright:
The control (no flash)

Flash with no bounce

Flash with bouncer, output off ceiling.

Output to front, 45 degree surface not resting against front side.

Output to front, 45 degree surface resting against front side.

Output to side, 45 degree surface resting against left side. (I think some light is bounced off the wall)

Camera in portrait orientation:
Output to side, bounced off ceiling.

Sample pic of V1.0:
Restaurant ceiling about 2.5m high. Moderately lit. F2.0 @ ISO800.

Discussion:
- The sole non-silver-ish wall in the bouncer does not seem to affect the color of the flash captured by the camera.
- The carton used in this procedure does not seem to be burnt by the constant burst of flash performed by the built-in flash unit.
- The open top side should not concern the user as:
a) if the front output is used, the front panel will be opened and rest against the top of the bouncer. Additionally the 45 degree surface will reflect most light towards the front when it is used.
b) if the side output is used, the 45 degree surface has to be deployed as it's function is to reflect light. The deployment of this 45 degree surface shall suffice in reflecting most light to the side output.
Hence the open top side is not of concern regarding amount of light reflected.
- The friction that exists between the bouncing surfaces and the inside surfaces of the bounce should keep the surfaces in position for bouncing purposes.
- A milk carton is not recommended for use of this project as the flash output will result in a slight to heavy yellow tint (might vary according to make of carton).
- Due to the inadequate output power of the built-in / pop-up flash, an ISO of 800 or more and aperture setting of F4 or wider is recommended. I don't have much knowledge regarding built-in flash output bias.
- The slit in which the body portion containing the built-in /pop-up flash unit should not interfere with the deployment of the flash unit itself. This is because the flash unit has to be deployed beforehand to make use of the bounce card. However the bouncer can be used without utilising the bounce card and exposure is still adequate (V1.0 does not have the bounce card). The slit still will not obstruct the deployment of the built-in flash unit as there is a mechanical barrier between the slit and the body portion containing the built-in / pop-up flash unit.
- Storage of the bouncer can be performed by flattening the bouncer with the bouncing surfaces resting against it's respective sides. However, doing so will reduce the structural integrity of the bouncer by a bit and the bouncer will tend to lose it's stiffness characterised by it's cardboard material after repeated flattening.
- Front output of the bouncer seems to be a bit harsh. Further improvement can be made by creating another output at the left side of the bouncer and a respective panel following the procedure step for the right output. This, when used with both the left and right panels opened and bouncing surfaces resting against each other, should create an even spread of diffused light towards the subject.
An additional wing-like add-on structure can be fabricated to be attached to the back side of the bouncer to bounce light from the left and right output towards the subject. This should further diffuse the front output light.
Conclusion:
- The bouncer created can provide adequate bounce off the ceiling. An ISO 800 or more or and aperture F4 or wider is recommended to compensate for the relative weaker power of the built-in/pop-up flash unit. F4 on the 18-55mm kit lens is available at 32mm or wider.
Update: Current model now V2.2. updated measurements for the allowance for the body portion containing built-in flash unit. Also added instruction to carve out allowance for lens barrel (previously present in V1.0 but left out in V2.0).
There you go. Is there a way to license this under Creative Commons? Wanna make it open source. LOL.
=============================





.jpg)

.jpg)

